
Blog
Valve Seat Failure: Build the Evidence Record Before Diagnosis
29 October 2026
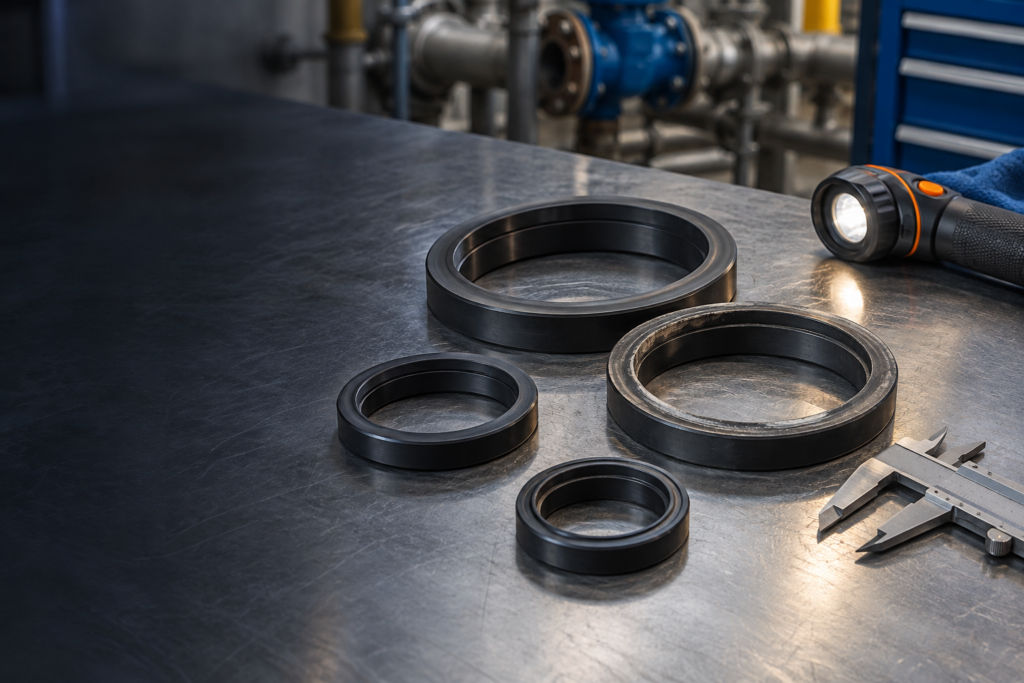
A damaged valve seat can tempt a quick diagnosis: abrasion, chemical attack, temperature, trapped debris or poor installation. The visible symptom is useful, but it rarely proves a single cause on its own.
Before the seat is cleaned, discarded or replaced, preserve a compact evidence record. The exact part identity, damage location, duty history, mating surfaces and installation details give the valve manufacturer or applications engineer something defensible to review.
Quick answer
Photograph the seat before cleaning it, identify the exact valve and seat compound, mark where the damage sits relative to the disc or closure member, and record the medium, concentration, temperature, pressure, cycling and recent changes. Then inspect the mating surfaces and installation against the manufacturer’s instructions. These observations can narrow the investigation; they do not by themselves prove root cause or justify substituting a different seat material.
Why the evidence comes before the cause
Primary manufacturer guidance shows why simple labels are risky. Parker’s seal handbook lists several possible contributors to abrasion, including surface finish, lubrication, temperature and abrasive contamination. Its broader seal guidance also explains that temperature and fluid exposure can change hardness, dimensions, compression set and wear behaviour.
For resilient-seated butterfly valves, Bray’s installation guidance describes how flange alignment, disc clearance and seat compression affect the seat–disc interface. Bray troubleshooting information also directs the user to inspect the seat, disc and interface when leakage or high torque is observed, and notes that foreign material may prevent seating.
Those sources support an investigation framework, not a universal ranking of failure causes. Use the evidence to ask better questions of the exact valve and material supplier.
Five evidence groups to capture
| Evidence group | Capture | Why it matters |
|---|---|---|
| 1. Exact identity | Valve manufacturer, model, size, serial/order reference, seat code and compound | Family names such as EPDM, NBR, FKM or PTFE do not identify the complete construction or grade |
| 2. Damage map | Overall and close-up photographs, orientation marks, location around the circumference, affected face and retained sample | Location and repeatability help distinguish observations that need different checks |
| 3. Duty history | Medium, concentration, contaminants, pressure, temperature, vacuum, cycling, dwell time and cleaning regime | Material behaviour depends on the real exposure envelope, not the medium name alone |
| 4. Interface condition | Disc or ball sealing surface, stem/shaft alignment, deposits, foreign material and actuator travel | A damaged mating surface or incomplete seating can reproduce the symptom after a new seat is fitted |
| 5. Installation and change record | Flanges, gaskets where applicable, bolt sequence, pipe alignment, commissioning, storage and recent process or maintenance changes | The timing of a change may direct the next inspection without proving causation |
1. Identify the exact failed part
Record the valve tag and photograph the nameplate without publishing sensitive plant information. Capture the manufacturer, model, nominal size, pressure designation, seat or liner code, compound description, batch or order reference where available, installation date and service hours or cycles if recorded.
Do not reduce the part to a polymer-family label. The recent Valves4You seat-material guide explains why exact compound and complete valve construction matter when shortlisting a replacement.
2. Preserve the damage map
Before cleaning, take an overall photograph and close-ups with a scale placed beside—not over—the damage. Mark the seat’s orientation to the body, shaft or flow direction. Photograph both sides and record whether the pattern is local, repeated around the circumference or concentrated near a joint, disc edge or sealing face.
Keep the removed seat and any loose fragments in a labelled bag. Avoid bending, cutting or solvent-cleaning the only sample until the manufacturer confirms what examination is useful.
3. Reconstruct the real duty
Record the medium and concentration, solids and particle characteristics where relevant, normal and exceptional temperatures, upstream and downstream pressures, vacuum, flow direction, cycling frequency, time left closed or open, cleaning chemicals and flushing practice. Note excursions and alarms rather than reporting only design values.
Parker’s guidance treats temperature, fluid exposure, friction and contamination as interacting variables. A photograph without the duty history cannot establish whether the observed surface change arose from the material, the interface, the process or several factors together.
4. Inspect the mating surfaces and travel
Check the disc, ball or plug sealing surface for scratches, deposits, corrosion or embedded particles. Photograph the interface before removing deposits. Confirm actuator stops, travel and alignment against the exact manufacturer instructions; do not force the valve through an abnormal torque condition.
Bray’s manuals explicitly link troubleshooting to inspection of the disc–seat interface and warn that foreign material can prevent seating. For its resilient-seated butterfly valves, the manufacturer also stresses flange alignment and disc clearance during installation.
5. Record installation and recent changes
Capture flange standard and condition, pipe alignment and support, gasket use where permitted, bolt tightening sequence, storage conditions, commissioning checks and the maintenance method used. Record what changed before the symptom appeared: process chemistry, temperature, pressure, cleaning, actuator settings, pipework, replacement parts or shutdown work.
A change record points to evidence worth checking. It is not proof that the most recent change caused the failure.
Use visible patterns as questions, not verdicts
Flattening or polished wear
Ask whether the pattern is local or uniform, whether the mating surface is rough or damaged, and whether contamination, temperature or movement changed. Do not label every polished area “abrasion” without the operating and interface evidence.
Swelling, softening, hardening or shrinkage
Confirm the exact compound and collect the real fluid, concentration, temperature and cleaning history. Manufacturer compatibility and test data for the specific compound are more useful than a generic compatibility table.
Cuts, tears or a local damaged sector
Inspect disc clearance, flange alignment, sharp mating surfaces, trapped debris, handling and the point at which the damage sits. Preserve the orientation so the supplier can compare the seat with the valve geometry.
Leakage with limited visible seat damage
Check closure travel, deposits, foreign material, actuator stops and the disc or ball sealing surface. The seat may not be the only component responsible for the observed leak.
What to send for application support
- Valve make, model, size, tag and seat/liner identity.
- Overall and close-up photographs with orientation and a scale.
- Medium, concentration, solids, pressure, temperature, vacuum and cleaning details.
- Operating pattern, cycles, dwell time, excursions and date the symptom began.
- Photos and observations for the mating surface, deposits, foreign material and travel.
- Installation details, recent changes, replacement history and retained sample availability.
- The required outcome: like-for-like replacement, failure review, alternative construction or complete-valve assessment.
Use the Chemical Compatibility Tool as an initial prompt for questions, then send Valves4You the complete evidence record. The tool does not replace manufacturer approval for the exact compound and valve construction.
Frequently asked questions
Can a photograph prove why a valve seat failed?
Usually not on its own. A photograph can preserve the pattern and location, but the exact part, duty history, mating surfaces and installation evidence are also needed.
Should the damaged seat be cleaned before inspection?
Photograph it first. Cleaning can remove deposits, fragments or surface evidence. Ask the manufacturer what sample preparation is appropriate.
Does a swollen seat always mean chemical incompatibility?
No. Swelling is an observation that must be compared with the exact compound, fluid, concentration, temperature, exposure time and manufacturer data.
Can I replace EPDM with FKM or PTFE to prevent another failure?
Not from the failure label alone. Recheck the complete duty, valve design, dimensions, torque, sealing behaviour and manufacturer-approved construction before changing material.
What if the seat looks sound but the valve leaks?
Inspect closure travel, deposits, foreign material, actuator settings and the disc or ball sealing surface. Preserve the evidence before adjustment or cleaning.
Ask for application support
Send the valve identity, duty history and photographs for a structured review of the replacement route.